

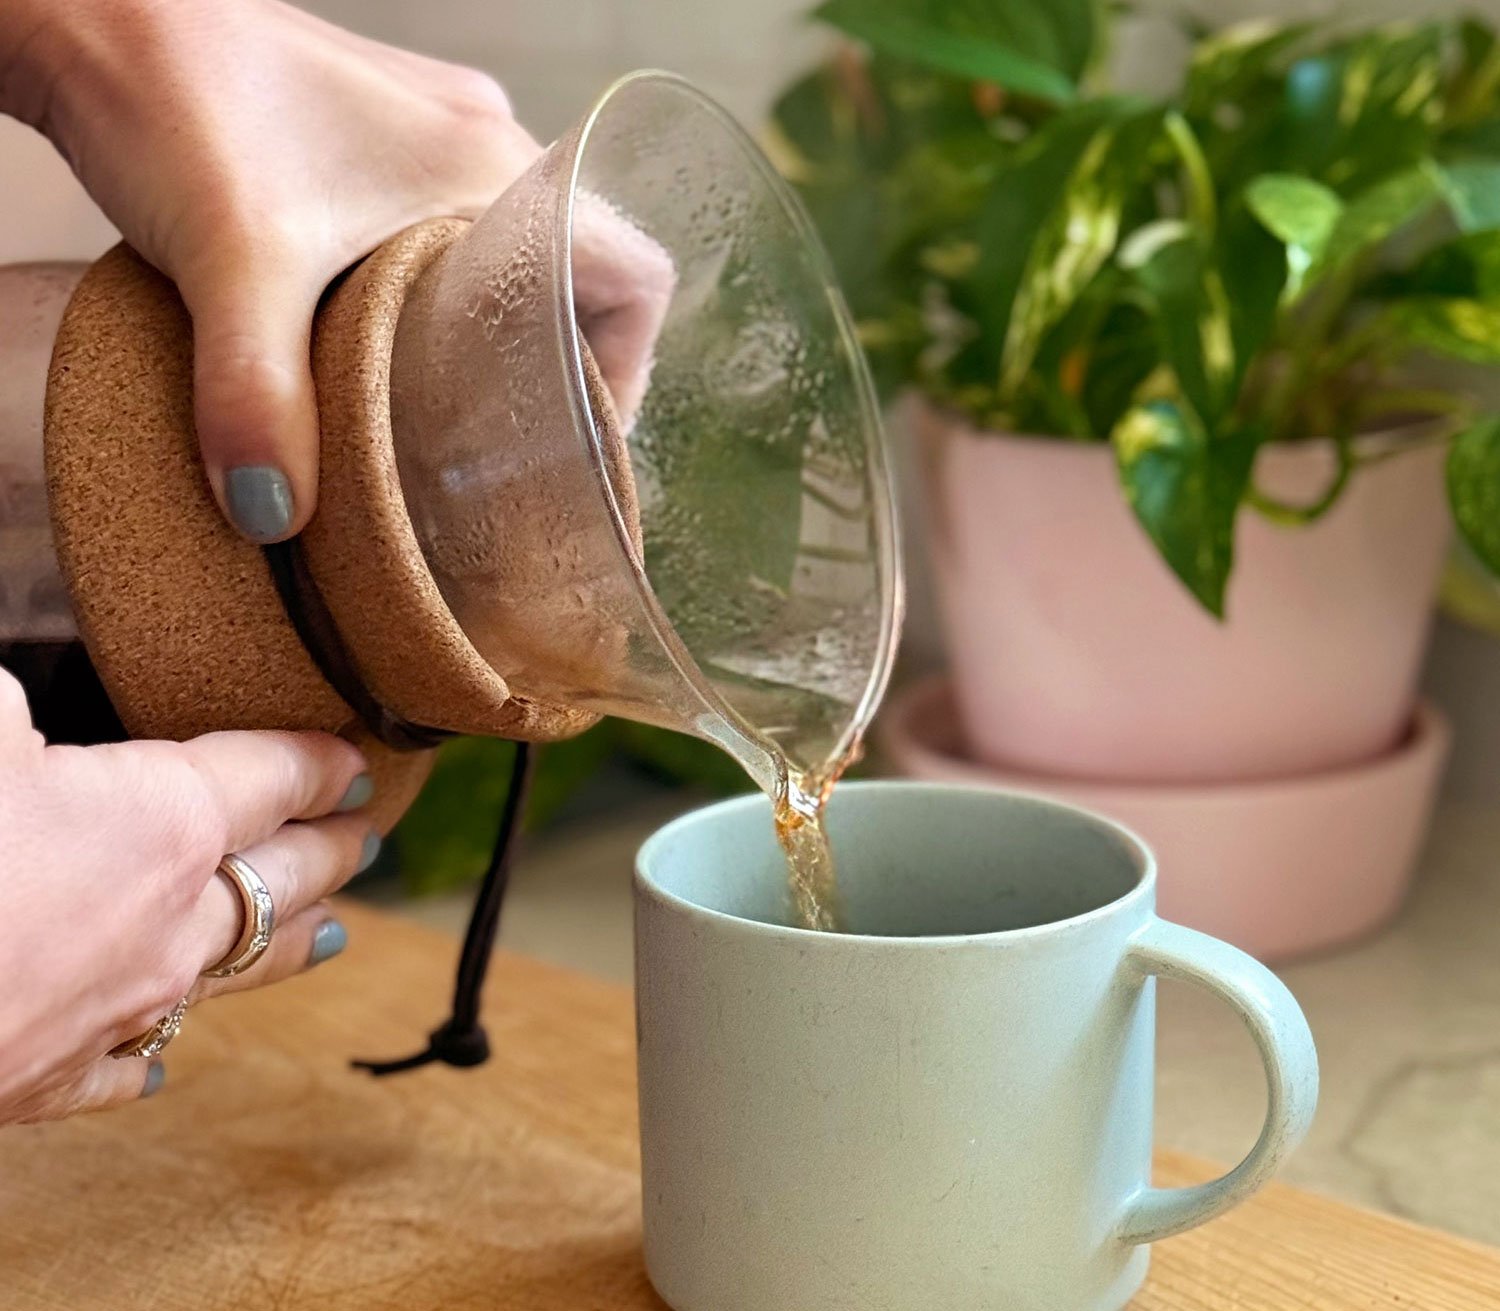
We get a surprising number of questions about how we make our pour over coffee (and even requests for a video tutorial). We aren’t baristas by any means, but we love an easy, affordable, and delicious cup every day. So we’re sharing how our system checks all of those boxes – without ever tasting bitter or burned.
Pour over is known to make better tasting coffee with less equipment & waste than electric coffee makers, but the process can sound intimidating – especially for beginners! Honestly, pour over is only as complicated as you want it to be. So we’ll show you just how easy it us for us to make. I do it every morning in just a few minutes. And I truly think it tastes better than many fancy coffee shops – so it saves me money!
Our Coffee Supplies
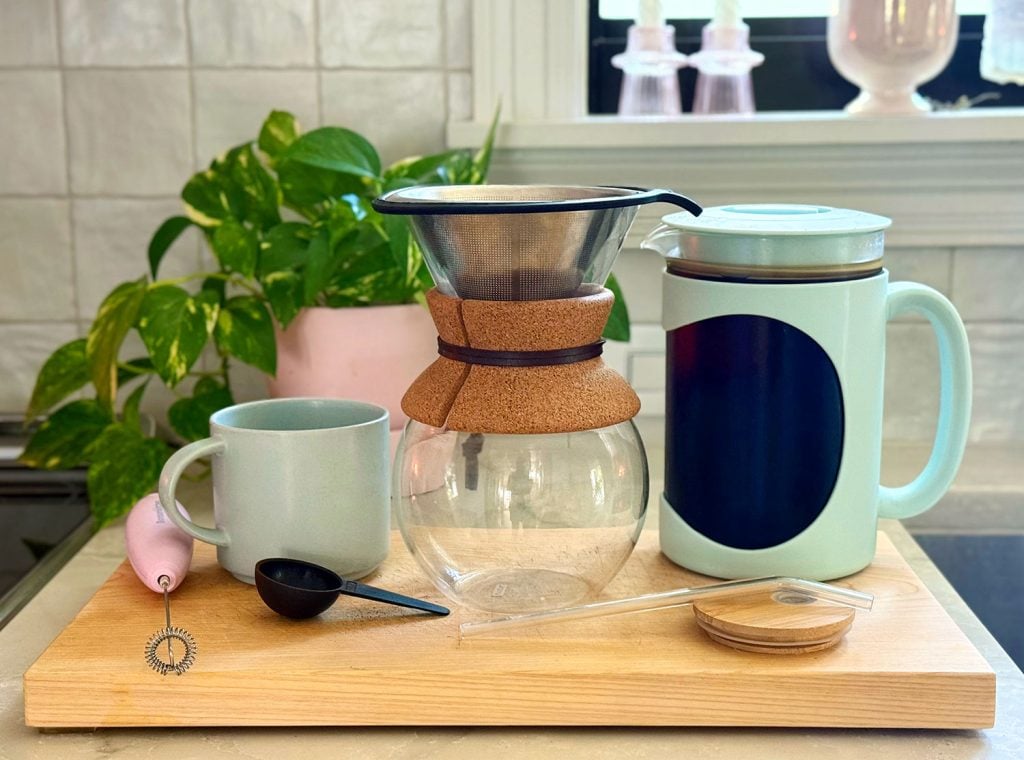
This supply list looks long, but the actual coffee-making equipment is only the top 3 bullet points. Each is less than $20 and for hot coffee you really only need the first one! That’s the one I use every day – the rest is icing on the cake, depending on if you like other variations.
Coffee Supplies
Coffee Ingredients
*Brands like Chemex and Hario are probably most well-known for pour over, but their brewers cost around $50. The one we love is less than $20 and is going strong after almost 2 years of daily use!
**If you own a coffee grinder, you can certainly buy whole coffee beans instead. For simplicity’s sake, we prefer to buy pre-ground coffee at the grocery store or have it ground when we buy from a local coffee shop.
What is Pour Over Coffee?
Pour over is one of several coffee brewing processes (like drip, french press, etc) that can be done at home. Like drip coffee (which can be made by a plug-in coffeemaker), pour over involves hot water filtering through ground coffee into a pot below. However, pour over is a manual process that many believe delivers a better, more flavorful cup coffee (nothing sits there for a long time getting burned, so to me, it tastes noticebly fresher and less bitter). You really have to taste it to believe it! Once I did, there was no going back.
Basic electric coffee makers (like the kind you might see in a waiting room) typically can’t heat water as high and often soak grounds unevenly. This can lead to weaker or inconsistent flavors. And the ones that brew one big pot that sits there heating and heating for hours can taste bitter and overcooked. These machines can also be wasteful (ex: one-time use filters or pods) and hard to clean (plastic tubing inside can making them prone to mildew).
If these are your favorite ways to make coffee, please don’t take this as me coming for you. With coffee (and much of life) – to each his own! I’m just sharing why I love my pour over forever and always. No waste. Affordable. Easy. Delicious. And so simple to rinse. No tiny tubing or worries of mold hiding somewhere you can’t see.
Pros & Cons of Pour Over Coffee
One reason that coffee snobs (said with love!) swear by the pour over process is because it gives you greater control to achieve “the perfect cup.” You can fine-tune variables like water temperature, grind size, coffee-to-water ratio, and brew time. Personally though, that feels kinda complicated. And thankfully, we’ve found that we get a delicious result without stressing over the details at all.
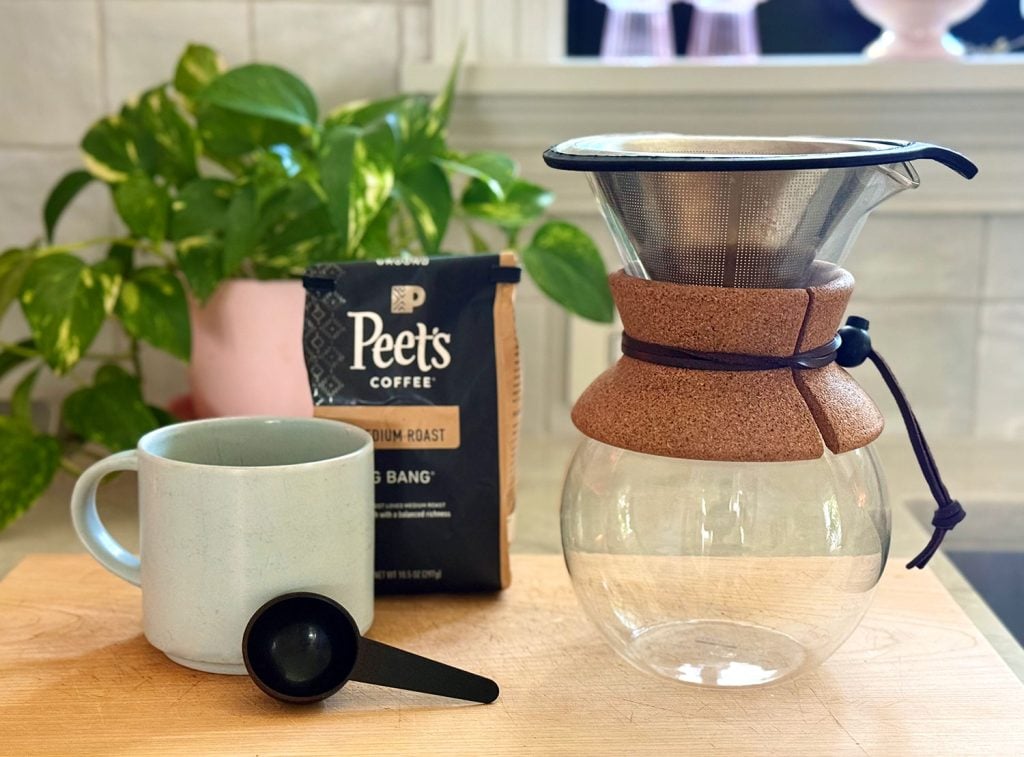
We mostly prefer a pour over system because it’s affordable, compact, and easy to use. We’ve got a small kitchen, so this beats having a bulky machine that permanently lives on our countertops. And again, the brewing process can be as simple or intricate as you like. John made this bulleted list for you, because you know he likes data:
Pour Over Coffee PROS:
- Better, stronger flavors
- Affordable (less than $20!)
- Compact & stylish
- Reusable materials
- Easier to clean
Pour Over Coffee CONS:
- Not automated or programmable
- Small learning curve to truly “master”
- Only makes 1-3 cups at a time
- No heating element to keep pot warm
Video Guide
Here’s a step-by-step, start-to-finish video of how I prepare coffee using our pour over coffee maker. After that in this same video, John also shows you how he uses his cold brew maker, if you’re interested in that. And stick around for the end if you want to see how easy it is to froth your milk. Legit fancy coffee house vibes from that simple trick.
NOTE: You can also watch this video on YouTube.
How to Make Pour Over Coffee
Along with the video, we thought some photos would help. So here are the simple & straightforward steps we take each morning to get a great cup of coffee using the pour over method. It literally takes under 3 minutes after you have boiling water – and most of that is inactive time (just waiting for the coffee to slowly filter through. So you can pop some toast into the toaster, take your vitamins, or do whatever else you do in the kitchen while it works its way through.
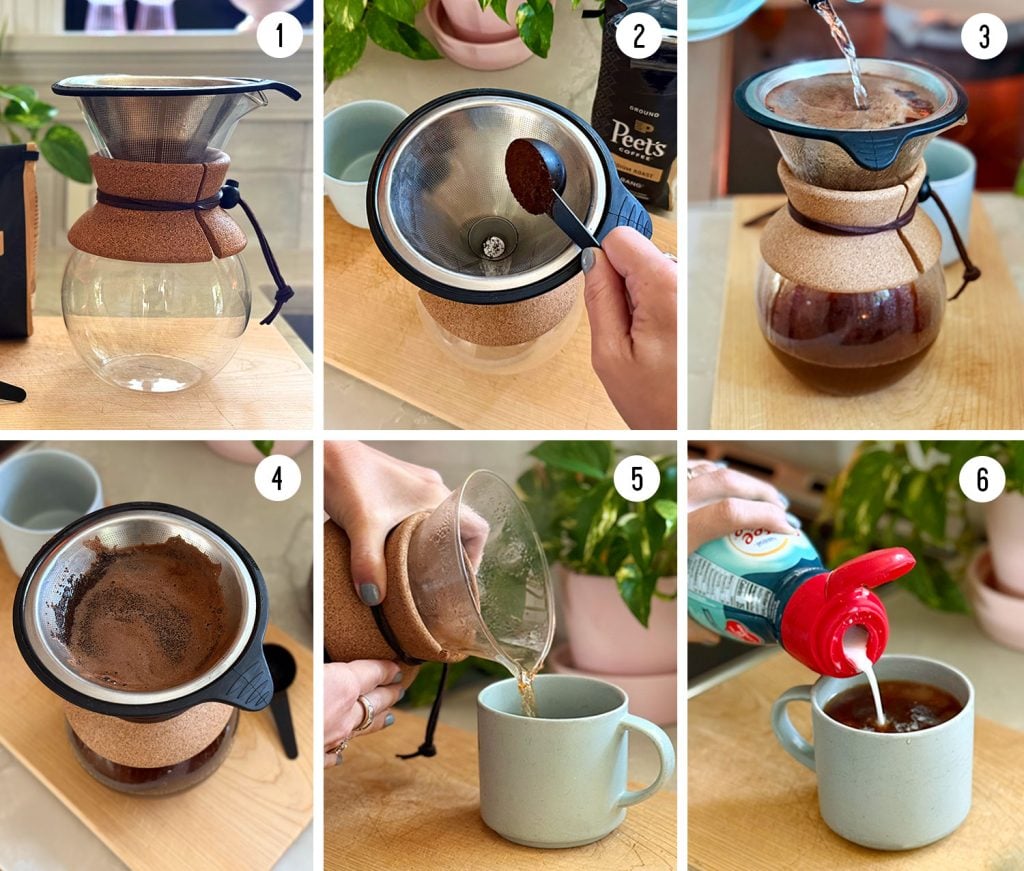
- Place the reuseable filter into the glass carafe
- Add 1 scoop of ground coffee (the scoop comes with the carafe)
- Slowly pour boiling water over the grounds
- Allow the water to drip through
- Pour the coffee, holding the cork collar
- Add cream/milk and/or sugar to your liking
It really is that simple, but here is a bit more detail about each step.
1. Place the filter into the carafe
The reusable stainless steel filter is provided with the pour over maker and fits neatly into the glass cone at the top of the carafe. Some people will use a paper cone filter in addition to or instead of the metal filter. The paper absorbs more oils which can alter the flavor (often described as lighter-bodied or crisper). Paper filters make clean-up faster, but we like the ease and sustainability of the metal filter without the paper – which is simple to dump into the trash or compost bin and rinse clean. We think our coffee without the paper filter tastes great, and it’s one less thing to do/buy.
2. Add 1 scoop of ground coffee
Using the provided scoop that comes with the carafe, add 1 scoop of ground coffee into the filter. A general rule is 1 scoop for every cup of coffee you are making, but we often stretch it to 1.5 cups (sometimes I have one big one and a second smaller one). You can always adjust your coffee ratio to taste. If it’s not strong enough for you, add a more mounded scoop instead of a flat scoop, etc.
Note: We have the 34oz version which claims to make “8 cups of coffee, 4oz each” in the listing. I don’t know who considers 4oz to be a full cup of coffee (our mugs hold 12oz), so you’re realistically maxing out around 3 cups with this pour over.
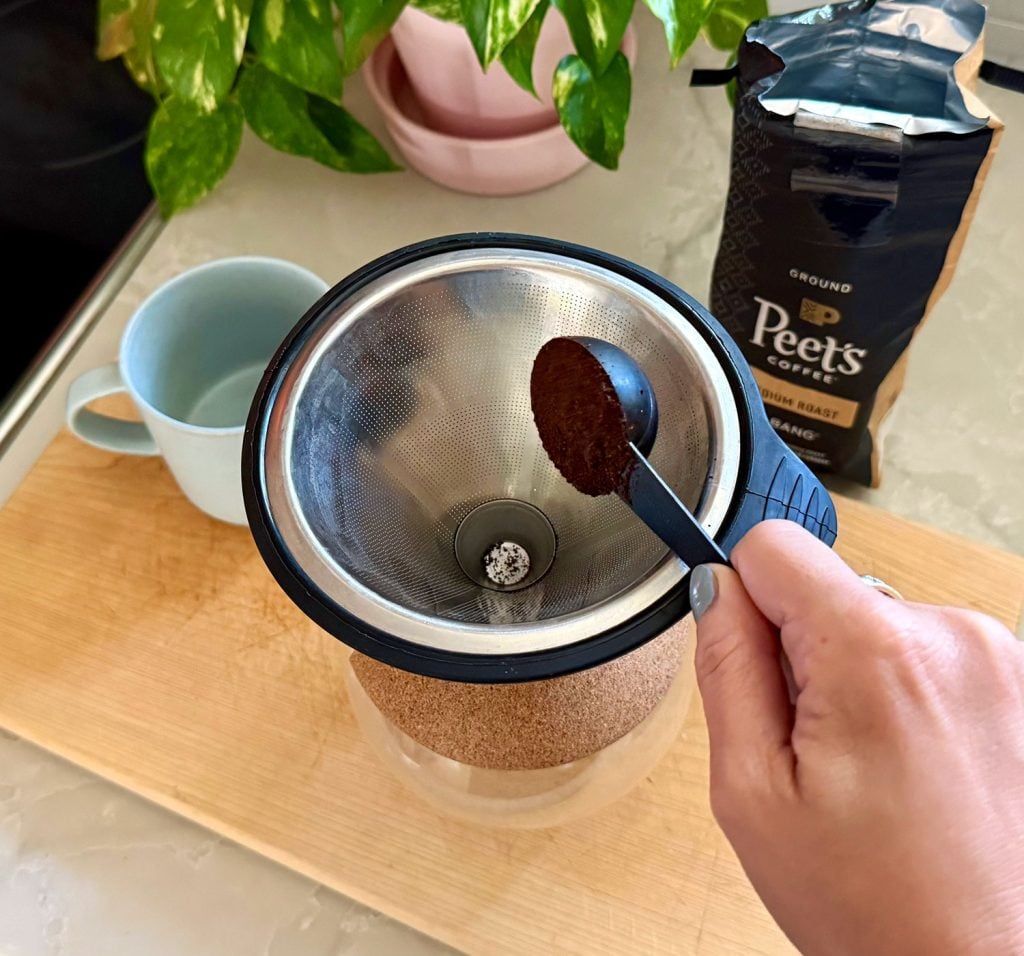
We have had 6 people over and just made 3 batches (2 cups in each). It was all fresh and delicious that way and we were all chatting in the kitchen as it went.
What kind of coffee grounds should I use?
Experts typically suggest a medium to medium-course grind for pour over coffee. However, this is another thing you can experiment with based on personal preference. Since simplicity is a goal of ours, we buy pre-ground coffee (check the date and grab something recently ground – it still can taste so fresh). This is my favorite grocery store coffee. John likes to switch it up (or to grab whatever’s BOGO).
3. Slowly Pour Boiling Water Over The Grounds
Next we use our stovetop kettle to pour boiling water over the coffee grounds. Take this slowly as not to overfill or splash. Experts suggest a variety of pour techniques you can use to maximize flavor, like pouring in circles, swirling your filter around, or pouring in 3 phases to “bloom” the grounds before continuing. We’ve experimented with some of these, but our palettes don’t seem sophisticated enough to detect much flavor difference. So on most days we keep it simple and just make sure the grounds get fully saturated.
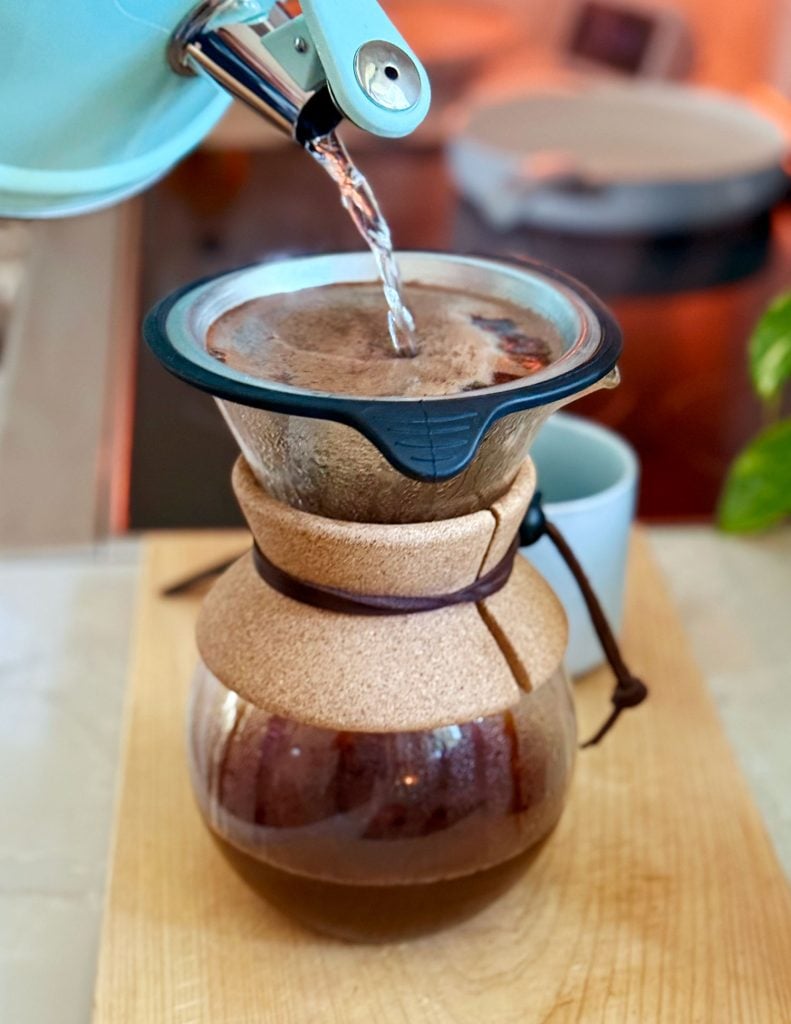
How much water should I use?
We aim to pour 12 ounces of water for every scoop of coffee (slightly less if we’re planning to add cream). However, most days we just eyeball it because it saves the step of measuring it out. But if you prefer to be exact, simply pour the water into your mug or a measuring cup before pouring it into the filter.
4. Allow The Water To Drip Through
It typically takes 1-2 minutes for the water to fully filter through into the bottom of the carafe. We don’t typically “babysit” our pour over maker at this point, and instead move on to something else for a few minutes, since this will also give time for the coffee in the bottom to cool to a drinkable temperature. Go take your vitamins and put on your earrings 😉
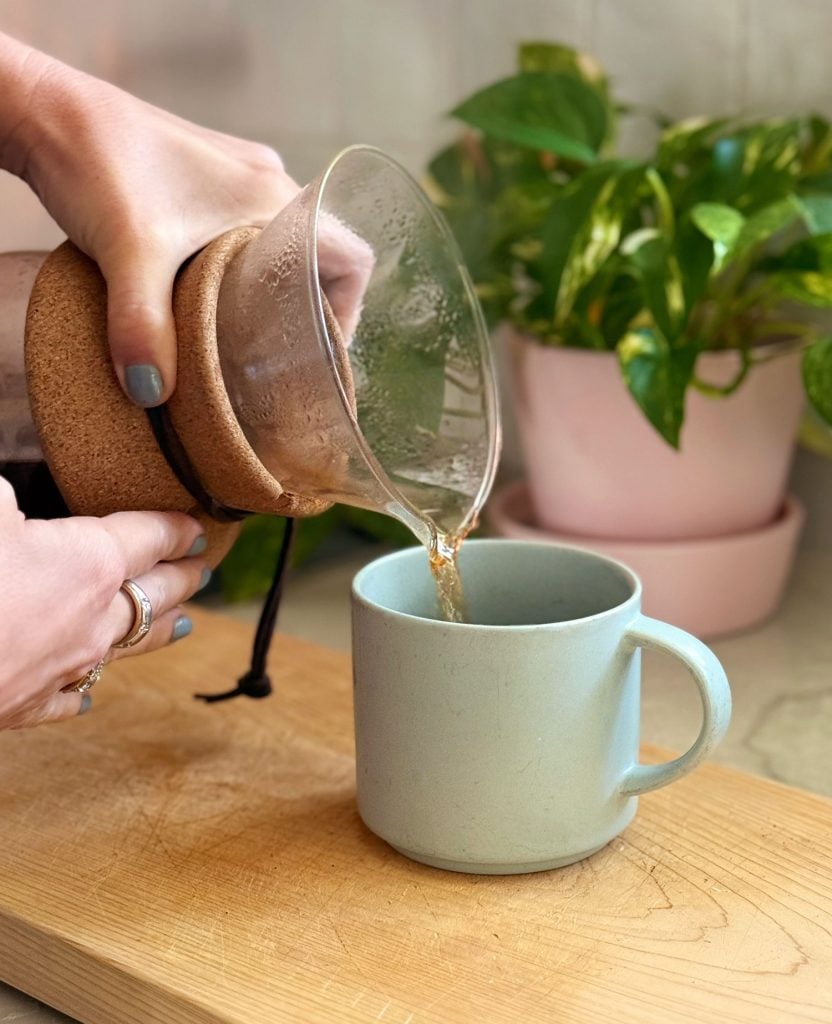
5. Pour The Coffee
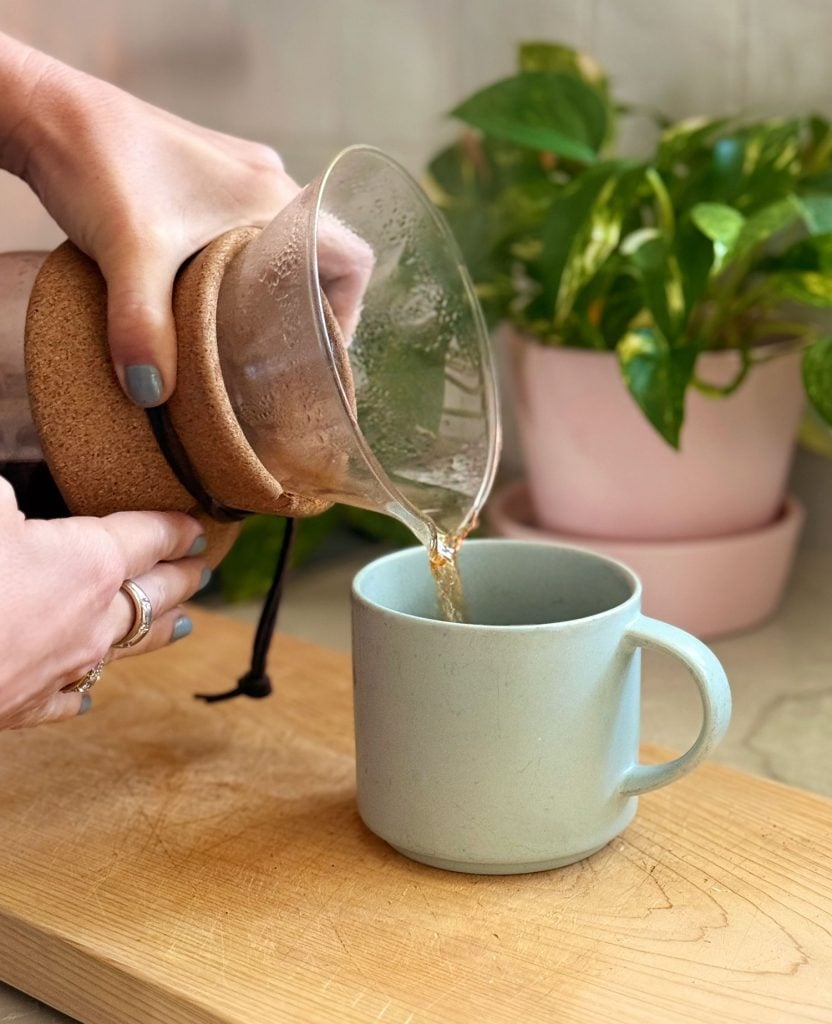
Once the water has fully filtered through, put the filter aside and pour your coffee (we usually place our filter in our sink to let any water drain for a while and clean it out later by shaking the grounds into the trash or compost bin). The glass on the bottom will be hot, so just hold it at the cork collar. Makes it easy to grip too.
6. Add cream and sugar to taste
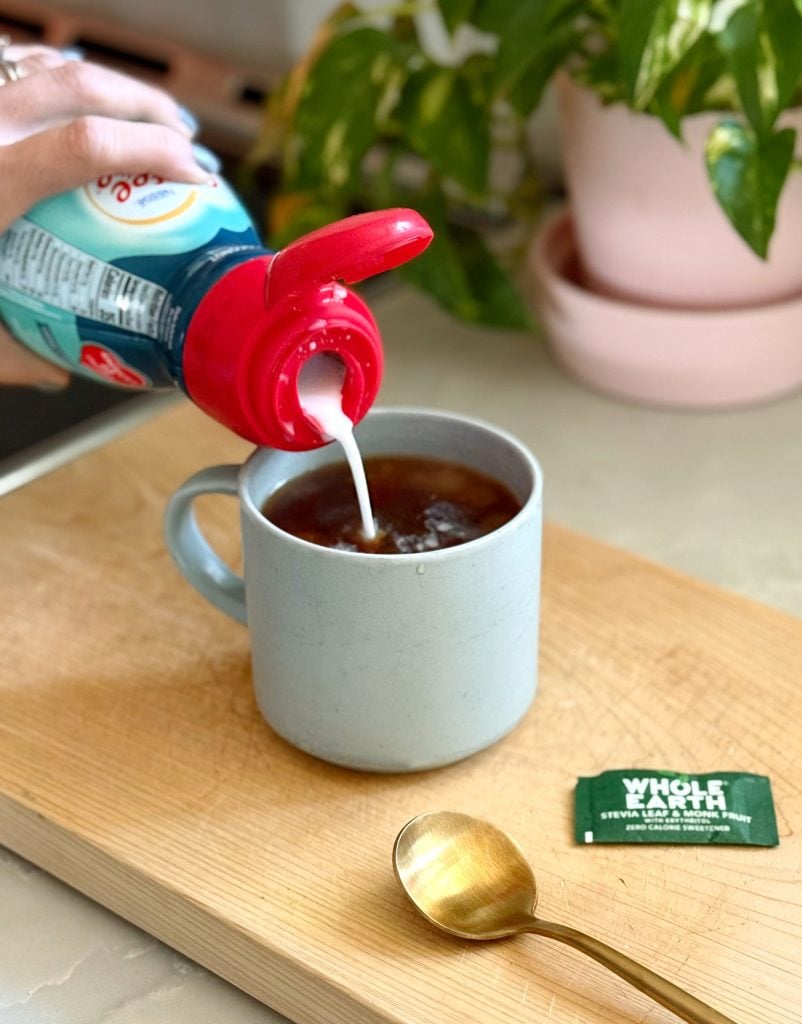
Most days Sherry drinks black coffee. But she will “treat” herself on weekends to a cup with one packet of Whole Earth sweetene and a bit of this coconut creamer. I can’t handle a black coffee so I typically add some of this creamer or sweetened vanilla almond milk. And if we’re feeling really fancy, we froth it using the process below!
Bonus Step: How to Froth Milk At Home
Sometimes to make our coffees feel a bit more like a storebought latte, we break out this $9 handheld frother. It’s super easy to use and turns any milk into a fluffy treat. This might be a weekend thing – and sometimes a just-because-we-deserve-a-little-treat extra step.
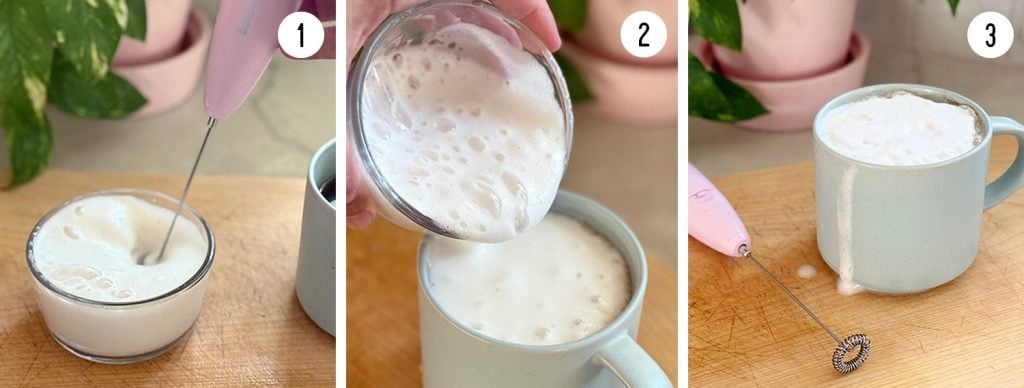
- Pour a small amount of milk or milk alternative into a small dish. With the metal end of the frother fully submerged, hold the on button and move the frother side to side.
- Once sufficiently frothed, carefully pour it into your coffee
- Enjoy! If it’s not sweet enough, try adding sugar or sugar alternative to your milk before frothing. We both think vanilla oatmilk tastes like a sweet marshmallow topping without any need to add anything else.
How to Clean Your Pour Over
Cleaning our pour over coffee maker is a thankfully extremely easy. All parts are dishwasher safe, except for the cork collar and leather cord that holds it in place. Once you’ve removed those, you can simply put the glass carafe and metal filter through the dishwasher.
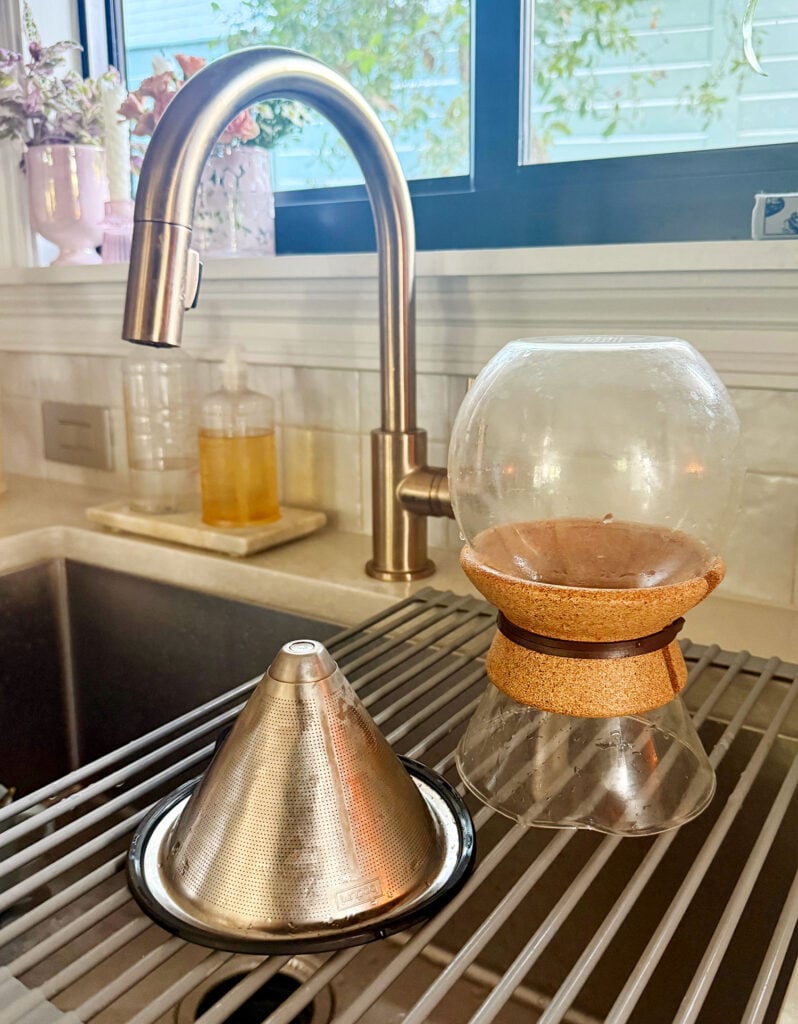
That being said, we typically just rinse & handwash both pieces most days. The cork collar is a little cumbersome to remove, so we save time by only dishwashing the pieces maybe once a week. Most days we do the following:
Is this more work than throwing out a K-cup? Sure. But it’s really not any harder or more time consuming than cleaning any other dish or pot in your kitchen. Gotta love a coffee maker that is literally just two parts that can be easily rinsed daily in the sink.
Why We Love Pour Over Coffee
You have made it to the longest and most detailed post that has ever been written about pour over coffee! Hopefully you can see why we choose it every day. Yes, it can be an intricate, finely-tuned process if you want it to be. But it can also be quick and straightforward too. I don’t think I would have stuck with this method daily for nearly two years if it felt complicated in any way.
Other Post You Might Enjoy
You saw some glimpses of our compact kitchen in this post, so be sure to check out some of the links below to see more photos. We’ve also linked some of our other favorite posts about how we save money:
*This post contains affiliate links, so we may earn a small commission when you make a purchase through links on our site at no additional cost to you.